

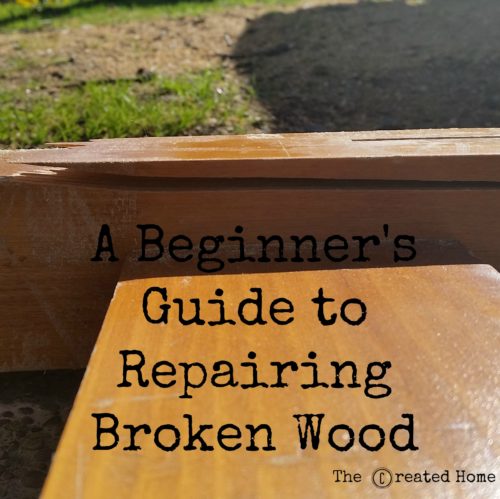
How To Repair Wood Footboard
If you lot are like well-nigh people, yous have some piece of furniture with broken wood in need of repair somewhere in your home. Well, pull that thing out of storage, because I'chiliad going to show you how to fix it in a jiffy.
Before we get started, you'll want to invest in a couple of these. Only do it – you lot volition exist surprised how often you need them. These Irwin clamps (affiliate) are popular for a reason.

![]()
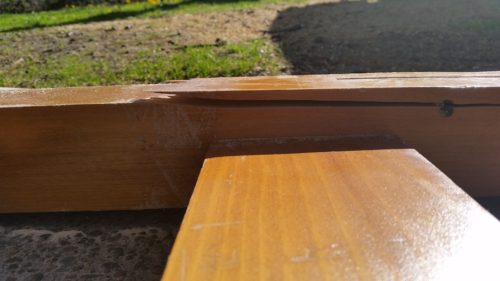
If the break is a clean 1 yous won't need to use filler, just clasp a tiny fleck of forest glue into the crack and clamp the sides together tightly. Y'all should exist good to release them in about half an hr, only I will ofttimes get out them for 24 hours just to be certain.
That method worked keen for this headboard, which is my all time favorite hack ready with a footling Superman duct tape.
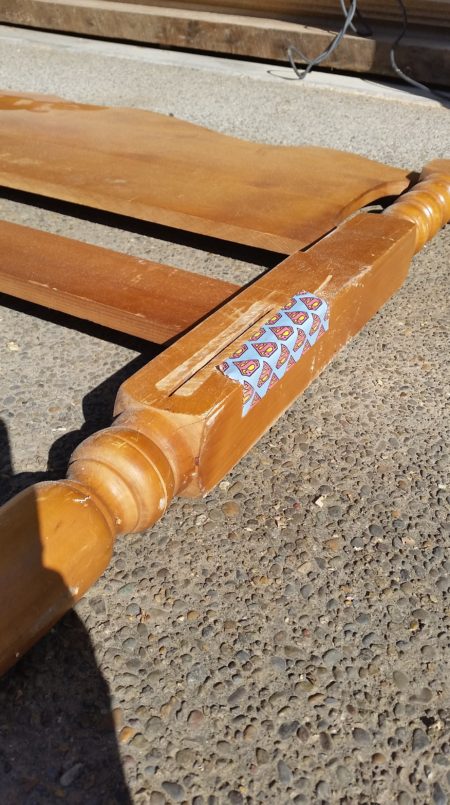
Here is that leg after gluing, clamping, and sanding.
Actually, the bending on that is all wrong. Only it doesn't matter because it was invisible afterward that anyway. Like it never happened. Lamentable, Superman.
At present, if the broken wood is not so clean as in the above case, you will need to practice a footling more work to fill up the gap. Here is how to exercise that.
*This mail contains some affiliate links for your convenience. You can read my total disclosure policy here.
3 Ways to Fill up Broken Woods
The first substantial piece of furniture I built was a desk. I don't recall how, but I ended up with a pretty good size ding out of it that had to be filled. Being a complete novice, I grabbed some wood filler from the store. I filled the pigsty, let it dry, and then sanded it equally smooth as possible. It said information technology was stainable, so I assumed it would alloy well plenty. Annnnd, nope. Not so much.
Throw out the filler. Get the glue. Because our first method is one woodworkers take been using since the aboriginal days of Prc. Okay, I fabricated that terminal part upwards.
Sawdust and Mucilage
Have a sander? Open up the dust collector and cascade some out in a container. Mix in a proficient size portion of glue – somewhere effectually a 50-50 portion (I use this glue, and it is freaking the bomb). It should turn pretty thick and very mucilaginous. About like so:
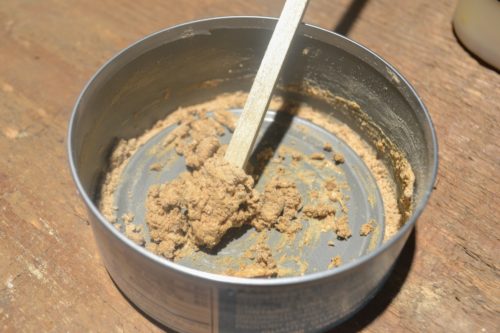
The effectively the better with this homemade filler. I always try to use the wood from the project itself and so the color tones match. This likewise works with epoxy and sawdust. A word of caution, even so: Adhesives don't take on stain, and then be sure to thoroughly remove any excess. If you want to see more than of this method, this is a practiced article.
1 last notation, this is the method for you if you are staining your project. The other two methods are non suitable for staining.
Joint Chemical compound, aka mud
Joint compound is really cheap, making this a terrific solution and one of my favorite tricks. This is really but best for a light skim glaze to end off spaces that are either not large or are mostly filled already. Instance in point, I love it for finishing pocket holes. I filled these holes with some sawdust and glue mixture, then finished that off after information technology dried with a light skimming of joint chemical compound. Since these pocket holes show I wanted them to, well, not show.
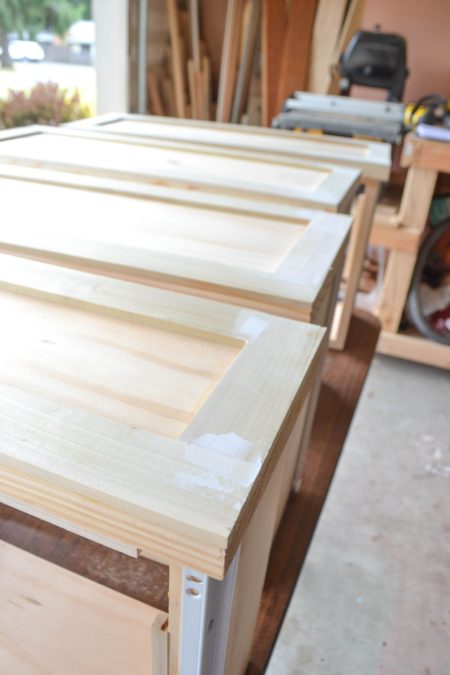
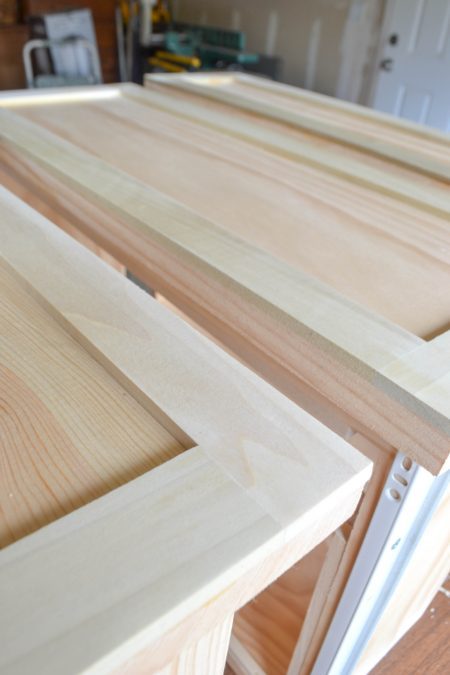
I take besides used this trick when I am bringing together ii pieces of wood and want them to exist virtually seamless, such as in edifice these drawer fronts.
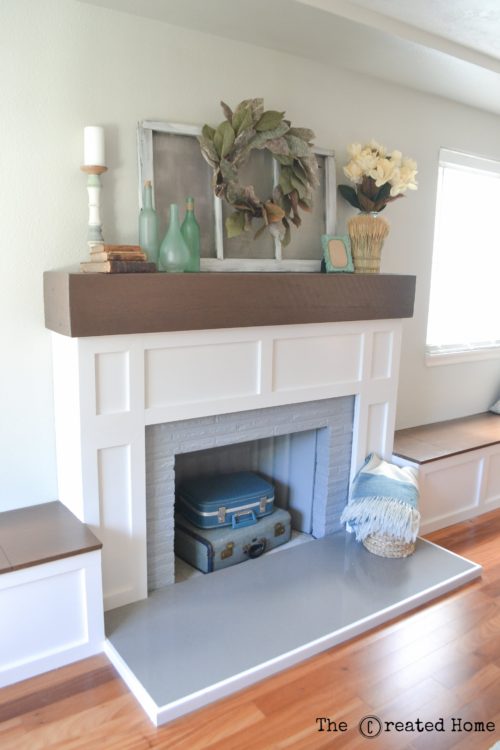
Joint compound is platonic for finishing because information technology is very smooth and easy to sand. I used it for finishing the mdf on our new fireplace facing, and it did a marvelous task.
Now, I realize that none of those examples involved bodily broken wood, just I simply had so many broken things to repair, so piece of work with me here.
Bondo
Become a respirator mask, considering this is one powerful solution that comes with an equally powerful scent. Bondo is used to do automotive repairs, so that should give some idea of its immovability. It sands as as smooth as joint compound, and tin can be used to fill up larger areas than the mud can.
Bondo comes in two parts, the filler and the activator. Mix the two co-ordinate to the directions in whatever amount yous require, and fill.
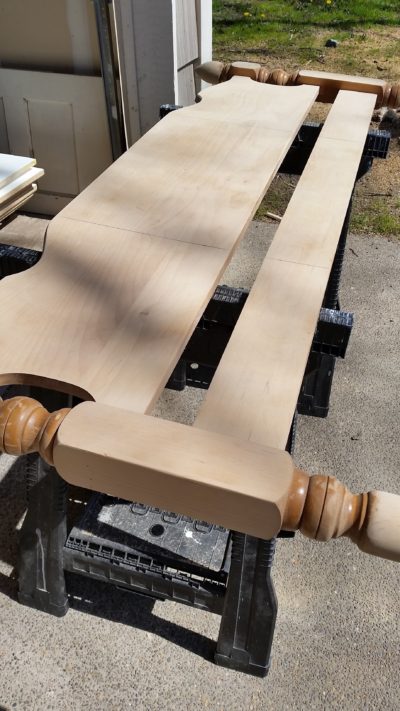
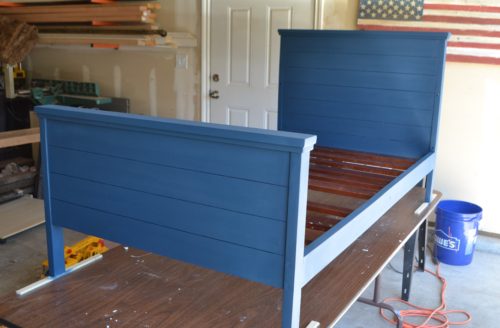
The toddler bed I recently finished had a major break that had to be repaired, too as annoying large spiral holes that were less than aesthetically pleasing.
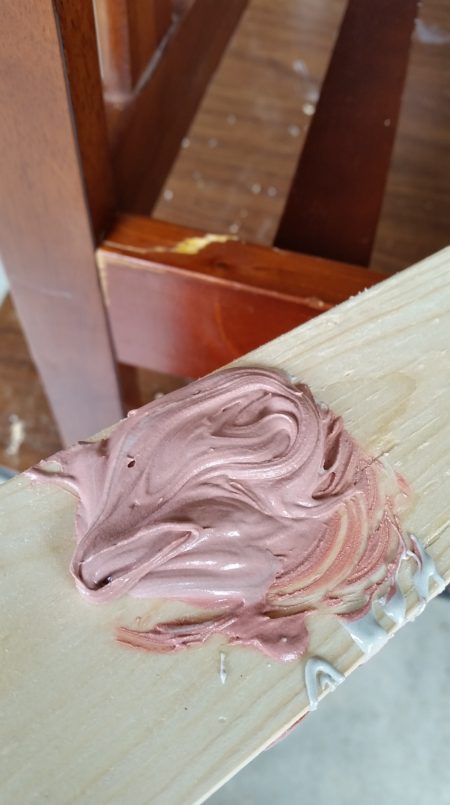
First I glopped information technology into the break. I should note that previous to this I filled it with glue and clamped. It dried and held fine, but all the same looked pretty bad considering of how jagged the interruption was.
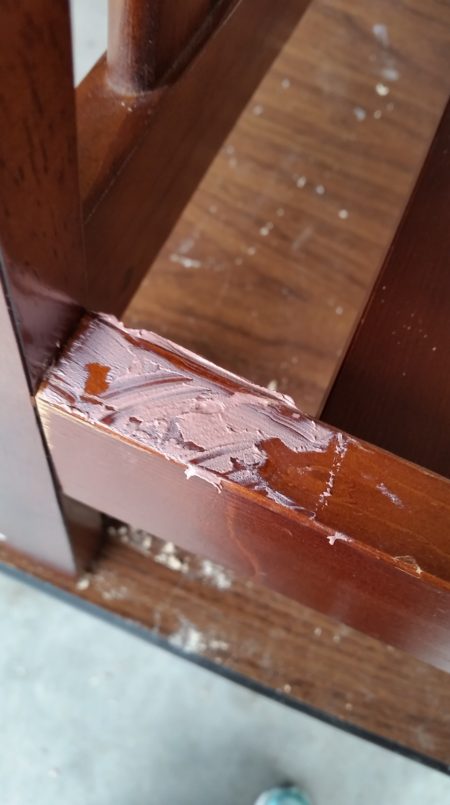
After sanding:
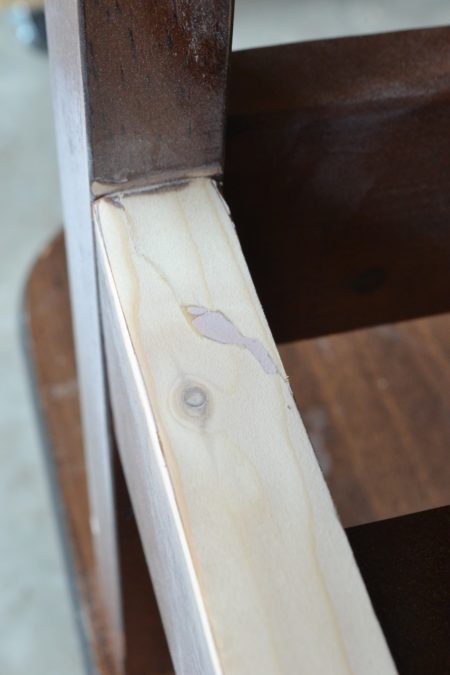
Afterward painting the spot is impossible to observe.
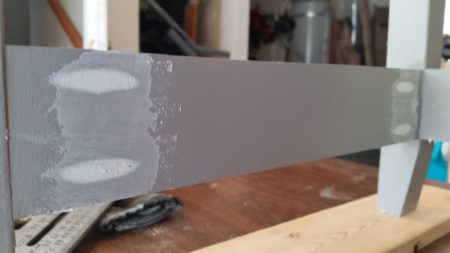
And here is how those holes looked with some Bondo. This is with just 1 of them finished and then you can see what the others looked like.
Here'south the finished version. (Information technology's the leg in the foreground of the photo.)
There you lot have it, three methods to fill gaps in wood. It's non a glamorous topic, but it is a useful one. Happy fixing!

Source: https://thecreatedhome.com/repair-broken-wood/
Posted by: thetfordwilloused.blogspot.com
0 Response to "How To Repair Wood Footboard"
Post a Comment